3D Model to 2D Icon: Unity Conversion Guide
3d model to 2d icon — Convert 3D models to 2D icons in Unity with Icon Architect Studio. Batch render, pack atlases, optimize for WebGL. Learn more today.
Summary
3d model to 2d icon — Convert 3D models to 2D icons in Unity with Icon Architect Studio. Batch render, pack atlases, optimize for WebGL. Learn more today.
3D Model to 2D Icon: Unity Conversion Guide
Converting a 3D model to a 2D icon in Unity is a deterministic pipeline: import the model, set up an orthographic camera with controlled lighting, render to a RenderTexture, composite the alpha, and export as PNG or sprite atlas. Icon Architect Studio automates this workflow inside the Editor, eliminating external DCC round-trips and reducing iteration time from minutes to seconds. For developers building RPGs, RTSs, and simulation titles, this means consistent icon sets, smaller build sizes, and zero per-frame rendering overhead at runtime.
Why Convert 3D Models to 2D Icons in Unity?
Runtime 3D icon rendering is a performance tax. Every icon drawn by a 3D camera costs draw calls, lighting calculations, and memory for meshes and materials. For a 200-item inventory, that overhead scales linearly and becomes untenable on mobile and WebGL targets. Pre-rendering to 2D sprites collapses that cost to a single texture lookup.
Key benefits of a 3D-to-2D icon pipeline:
- Performance: 2D sprites batch efficiently; no per-icon mesh or material instancing.
- Consistency: Identical lighting and framing across every icon in a set.
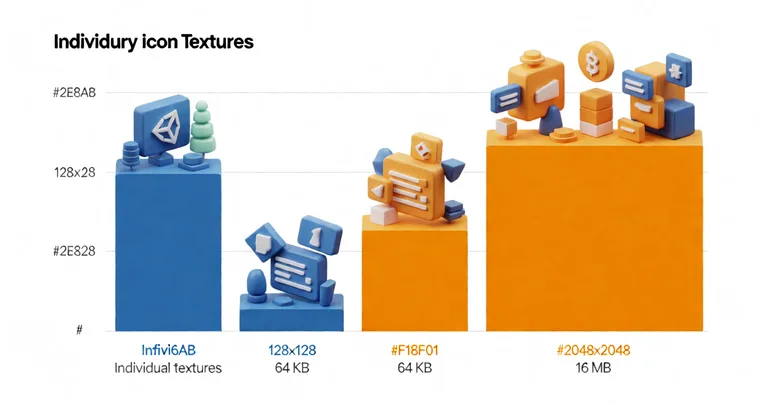
- Memory: Atlased PNGs compress well; a 2048×2048 atlas holds 256 128×128 icons at ~2 MB.
- Platform reach: Works identically on PC, mobile, console, and WebGL.
- Artist velocity: Designers iterate on lighting and backdrop without touching the model.
If you're building an RPG inventory, the icon pipeline is part of a larger system. See our guide to the best Unity assets for RPG development for the surrounding architecture.
How Do I Convert a 3D Model to a 2D Icon in Unity? Step-by-Step
The manual approach is well-understood but tedious. Here is the canonical pipeline:
- Import the model. Place the FBX or OBJ in your project. Configure import settings: disable Read/Write if you only need rendering, enable Generate Lightmap UVs off, and set mesh compression to Off for icon fidelity.
- Create a dedicated icon scene. Use a separate scene or prefab to isolate the model. This prevents lighting contamination from gameplay scenes.
- Set up an orthographic camera. Orthographic projection eliminates perspective distortion. Frame the model using a calculated orthographic size based on the model's bounding box.
- Configure a three-point lighting rig. Key, fill, and rim lights. Use a neutral HDRI or a solid color backdrop with an alpha channel.
- Render to a RenderTexture. Create a RenderTexture at 256×256 or 512×512 with ARGB32 format. Assign it to the camera's target texture.
- Composite and export. Read the RenderTexture into a Texture2D, apply alpha premultiplication if needed, and encode to PNG via
ImageConversion.EncodeToPNG. - Pack into an atlas. Use Unity's Sprite Atlas or a custom packer to group icons by category (weapons, armor, consumables).
This works, but it's manual, error-prone, and doesn't scale to hundreds of items. That's where automation matters.
Always render icons at 2× or 4× the target display size, then downsample. This preserves edge detail and produces cleaner alpha edges than rendering at native resolution.
Automating the Pipeline with Icon Architect Studio
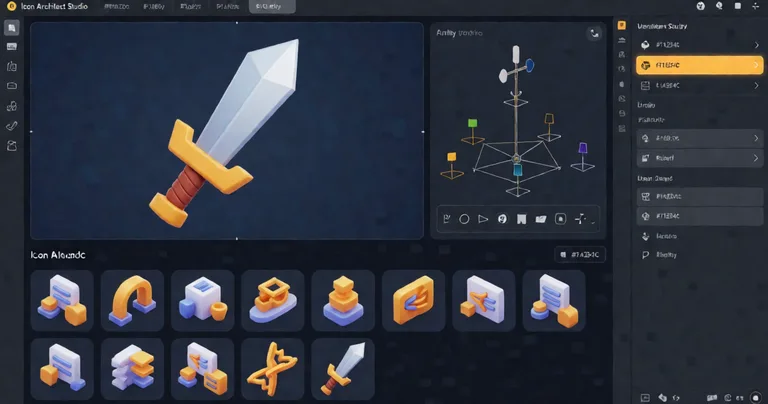
Icon Architect Studio wraps the entire pipeline into a single Editor window. You assign a prefab, choose a lighting preset, pick a backdrop, and click Render. The tool handles camera setup, RenderTexture allocation, alpha compositing, and PNG export. Batch mode processes an entire folder of prefabs in one pass.
For teams shipping large item catalogs, this is the difference between a two-week art task and a two-hour script run. The Icon Architect Studio overview documents the full feature set, including custom lighting rigs and compositing options.
Performance Optimization for Icon Rendering
Icon rendering is a build-time concern, but the choices you make affect runtime memory and load times. The following table compares common output configurations.
| Configuration | Resolution | Memory per Icon (RGBA32) | Best For |
|---|---|---|---|
| Low | 64×64 | 16 KB | Mobile HUD, status effects |
| Standard | 128×128 | 64 KB | Inventory grids, ability bars |
| High | 256×256 | 256 KB | Detail panels, tooltips |
| Ultra | 512×512 | 1 MB | Store pages, hero art |
Atlasing consolidates memory. A 2048×2048 RGBA32 atlas occupies 16 MB regardless of how many icons it contains, up to 256 128×128 entries. This is a 4× memory reduction versus individual textures and enables a single draw call for the entire inventory UI.
"The fastest icon is the one you never render at runtime. Pre-bake everything, atlas aggressively, and let the GPU do one draw call."
— RealSoft Games engineering principle
WebGL and Mobile Considerations
WebGL builds have strict memory ceilings. Browsers typically cap texture memory at 256 MB for a single context, and mobile Safari is more aggressive. Atlas compression matters. Use ASTC 6×6 on mobile and DXT5 on desktop. For WebGL, prefer PNG with alpha over uncompressed formats.
Our WebGL Games platform hosts optimized Unity builds that demonstrate these constraints in practice. The Redemptions Guild VR project maintains a strict frame budget with zero per-frame allocations — a discipline that extends to icon rendering pipelines.
How Do I Integrate 2D Icons into Modular Game Systems?
Icons are data. Treat them as assets referenced by ID, not as hard-coded sprite fields. This decouples your UI from your item definitions and enables localization, modding, and dynamic content.
A robust integration pattern:
- Store icon references in a ScriptableObject database keyed by item ID.
- Use Addressables for async loading; icons are small and cache well.
- Bind UI elements to the database via an event-driven presenter, not direct references.
- Provide fallback icons for missing entries to avoid pink squares in production.
For inventory systems specifically, the Inventory Management Suite uses O(1) item lookups and integrates cleanly with an icon database. Pair it with the Advanced Skill System to render ability icons from the same pipeline. Every system that surfaces an item or ability consumes the same icon atlas.
Icon Architect Studio exports a manifest JSON alongside the atlas. Use this manifest to auto-generate your ScriptableObject database via an Editor script — no manual sprite assignment required.
Networking and Multiplayer Icon Sync
In multiplayer titles, icons are client-side assets. Never send sprite data over the wire. Send an item ID or asset hash; the client resolves it locally. This is the pattern used in RNet, our C# networking library built on LiteNetLib. Enum-based RPCs carry only the ID, and the client looks up the icon from its local atlas.
For deterministic lockstep titles like Arcadus, this matters even more. Every client must resolve the same ID to the same icon, which is guaranteed if the atlas is versioned with the build.
AI Integration and Documentation for Icon Pipelines
AI is changing how icons are generated and named. The LLM Chat Module connects Unity to local LLM providers like Ollama or LM Studio. You can use it to auto-generate icon descriptions, tooltips, and localization strings from the model name and stats. The result is a fully documented icon database without manual data entry.
Documentation is equally important. The Icon Architect API reference covers the scripting surface: IconRenderer.Render(prefab, settings), IconProfile assets, and batch export hooks. The Icon Architect tutorial walks through a complete weapon icon set from import to atlas.
| Task | Manual Pipeline | Icon Architect Studio | Time Saved |
|---|---|---|---|
| Single icon render | 4–6 min | 15 sec | ~95% |
| 100-icon batch | 6–8 hours | 5 min | ~98% |
| Lighting variant | 30 min | 30 sec | ~98% |
| Atlas repack | 20 min | 10 sec | ~99% |
Frequently Asked Questions
Q: How do I convert a 3D model to a 2D icon in Unity?
A: Import the model, set up an orthographic camera with a three-point lighting rig, render to a RenderTexture, composite the alpha, and export as PNG. Icon Architect Studio automates every step inside the Editor, including batch processing and atlas packing.
Q: What is the best way to turn a 3D model into a 2D icon for mobile games?
A: Render at 128×128 or 256×256, pack into a 2048×2048 atlas, and compress with ASTC 6×6. This keeps memory under 16 MB for 256 icons and ensures a single draw call for the entire UI.
Q: Why should I pre-render icons instead of rendering 3D models at runtime?
A: Runtime 3D icon rendering costs draw calls, lighting calculations, and mesh memory per icon. Pre-rendered 2D sprites batch efficiently, reduce memory, and work identically on PC, mobile, console, and WebGL.
Q: Can I use Icon Architect Studio with WebGL builds?
A: Yes. Icon Architect Studio runs in the Editor, so it produces standard PNG atlases that work in any Unity build target, including WebGL. The output is platform-agnostic.
Q: How do I keep icon lighting consistent across hundreds of items?
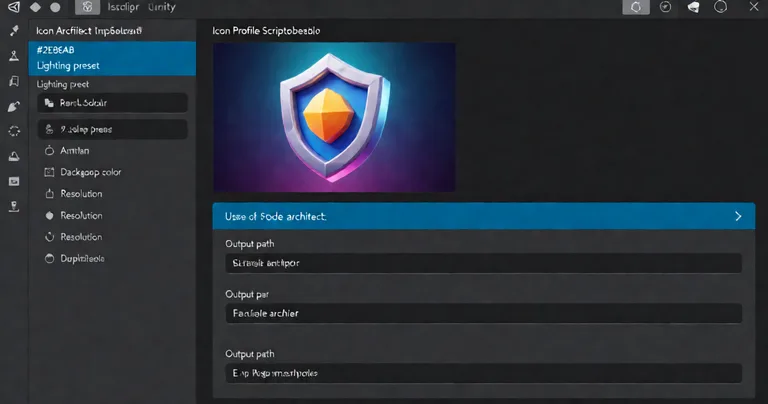
A: Use a shared Icon Profile asset. It stores the lighting rig, backdrop, camera settings, and resolution. Every render uses the same profile, guaranteeing consistency.
Q: Where can I find documentation for the icon pipeline?
A: The Icon Architect Studio documentation hub contains the overview, tutorial, and API reference. Start with the overview, then follow the tutorial to build a complete icon set.
Converting a 3D model to a 2D icon is a solved problem when you treat it as a build-time pipeline rather than a runtime feature. Import, light, render, composite, atlas, export. Icon Architect Studio collapses that sequence into a few clicks and scales to thousands of icons. For teams shipping RPGs, RTSs, and simulations across PC, mobile, and WebGL, the time savings and memory reductions are immediate and measurable. Start with the Icon Architect Studio product page, then follow the tutorial to ship your first icon set today.
More from RealSoft Games
3D Model to 2D Icon Unity: Fast Pipeline Guide
3d model to 2d icon unity — Convert 3D models to 2D icons in Unity with Icon Architect Studio. Fast, optimized, pipeline-ready. Start Learn more today.
3D Model Icon Converter for Unity — Icon Architect Studio
3D model icon converter for Unity — turn 3D models into optimized 2D icons in-editor. Try Icon Architect Studio free today.
3D Icon Rendering Software for Unity: Icon Architect Studio
Discover the best 3D icon rendering software for Unity. Render 3D models into optimized 2D icons in-editor. Try Icon Architect Studio today.
2D Side-Scrolling Adventure: Unity Systems and Optimization
Build a 2D side-scrolling adventure in Unity with proven systems, pooling, and networking. Optimize performance and ship faster. Start now.
📋 Embed this feed on your website:
<script src="https://maylalabs.com/api/embed?api_key=mayla_site_59a092476d90a263df17bad3f8581e007aecae6d382cfa0e&limit=5" defer></script>