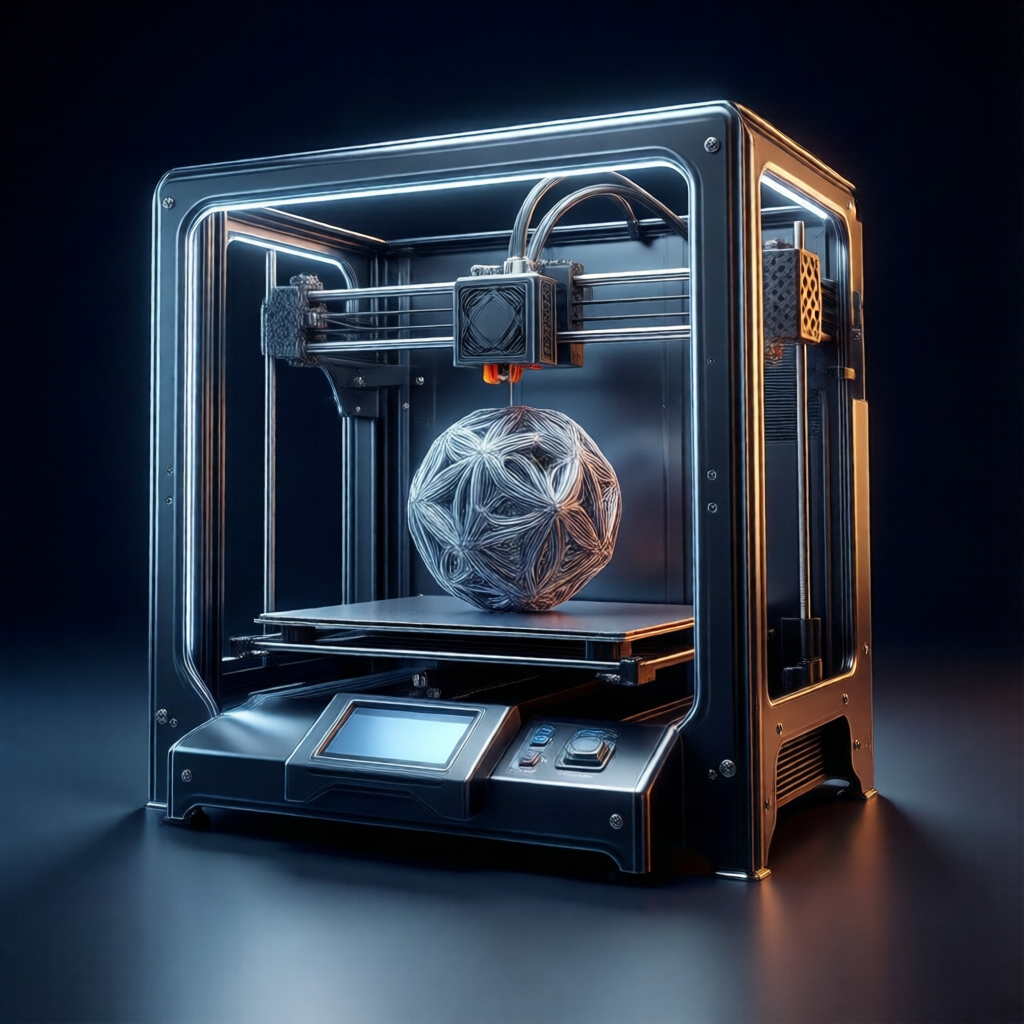
3D Printing Models: The Complete Guide for Creators
Learn how to find, create, and optimize 3D printing models for perfect prints. Get expert tips on file formats, slicing, and troubleshooting. Start today!
Summary
Learn how to find, create, and optimize 3D printing models for perfect prints. Get expert tips on file formats, slicing, and troubleshooting. Start today
The term 3D printing models refers to digital files—typically STL, OBJ, or 3MF—that contain the geometric data a 3D printer uses to build physical objects layer by layer. Whether you're a hobbyist looking for a fun weekend project, an engineer prototyping a new part, or a game developer creating custom assets, understanding how to source, design, and prepare 3D printing models is the single most important skill for getting reliable, high-quality prints. This guide from RealSoft Games covers everything from finding free models and optimizing your files to troubleshooting common failures, so you can go from digital design to finished print with confidence. Ready to start printing? Let's dive into the complete workflow.
What Are 3D Printing Models and Why Do They Matter?
A 3D printing model is a mathematical representation of a three-dimensional object. Unlike a 2D image or a video game mesh that only needs to look good on a screen, a 3D printing model must be watertight—meaning every edge connects to exactly two faces, with no holes, non-manifold geometry, or inverted normals. The slicer software that converts your model into printer instructions (G-code) reads this geometry and calculates where to deposit material. If the model isn't clean, the print fails.
Why does this matter? Because the quality of your 3D printing model directly determines the quality of your physical object. A well-optimized model prints faster, uses less material, and requires fewer post-processing steps. A poorly prepared model can waste hours of print time and dollars of filament. According to a 2023 survey by Hubs (now Protolabs Network), over 40% of failed 3D prints are caused by model geometry errors, not printer calibration issues. That's a staggering number—and it means fixing your model before slicing is the highest-leverage action you can take.
For game developers and digital creators, the connection between digital assets and physical 3D printing models is closer than ever. At RealSoft Games, we build tools that help developers transform their digital work into new formats. For example, Icon Architect Studio lets you turn complex 3D models into stunning 2D icons on the Unity Asset Store—a perfect example of how one 3D asset can serve multiple purposes, from on-screen rendering to physical printing.
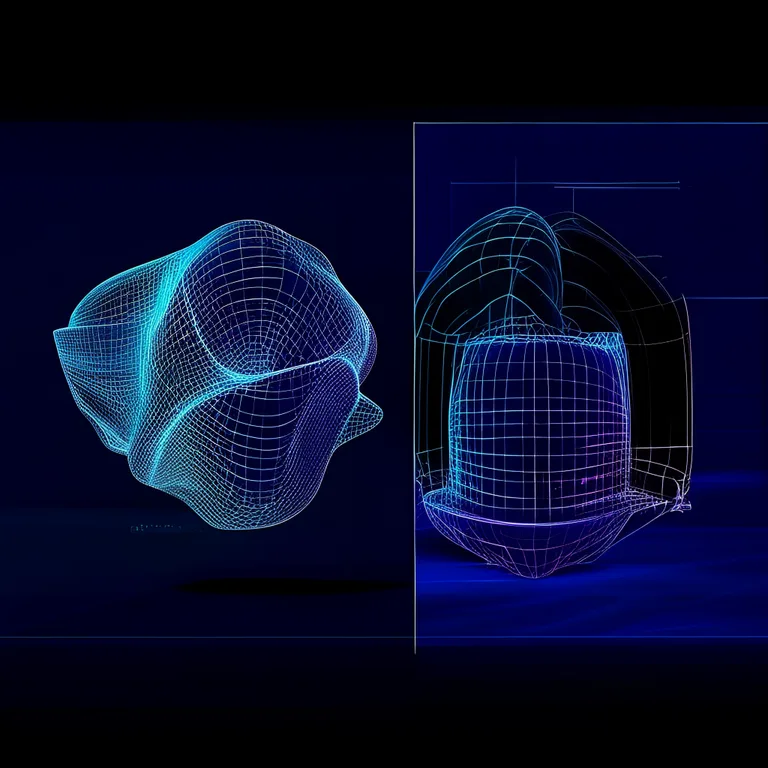
Always check your 3D printing model for manifold errors before slicing. Free tools like Meshmixer, Blender's 3D Print Toolbox, or PrusaSlicer's built-in repair function can automatically fix most issues in seconds.
Where to Find High-Quality 3D Printing Models
You don't need to design every 3D printing model from scratch. A massive ecosystem of free and paid model repositories exists, each with its own strengths. Here's a breakdown of the most popular sources:
- Thingiverse — The largest free repository, with over 2.5 million user-uploaded models. Great for hobby projects, but quality varies widely.
- Printables — Prusa's community platform, known for higher-quality curated models, contests, and active user feedback.
- MyMiniFactory — Focuses on verified, print-tested models, especially for tabletop gaming and miniatures.
- Cults3D — A marketplace with both free and premium models, popular for cosplay props and artistic designs.
- CGTrader — Professional marketplace with high-quality paid models, often used for commercial prototyping.
When downloading 3D printing models, always check the license. Most free models are under Creative Commons licenses that may restrict commercial use. If you're selling prints or using models in a product, verify the license terms first.
| Repository | Free Models | Paid Models | Best For | License Clarity |
|---|---|---|---|---|
| Thingiverse | 2.5M+ | None | Hobbyists, beginners | Varied; check each file |
| Printables | 500K+ | None | Curated quality, contests | Clear CC licenses |
| MyMiniFactory | 150K+ | Premium tier | Miniatures, verified prints | Clear commercial options |
| Cults3D | 100K+ | Paid models | Cosplay, art, props | Designer-specified |
| CGTrader | 50K+ | 1M+ | Professional, commercial | Clear royalty options |
If you're designing your own 3D printing models, you'll need the right software. Blender is free and powerful, but has a steep learning curve for engineering-grade precision. Fusion 360 is the industry standard for mechanical parts, while Tinkercad is perfect for beginners. For organic sculpting, ZBrush or Nomad Sculpt (on iPad) are excellent choices.
RealSoft Games' Icon Architect Studio demonstrates how the same 3D printing model can be repurposed for digital use. If you've already designed a model for printing, you can convert it into a polished 2D icon for your Unity project—a great way to extend the value of your work across mediums.
How to Optimize 3D Printing Models for Perfect Prints
Optimization is where most beginners struggle. A 3D printing model that looks perfect on screen can fail catastrophically in the printer. Here are the five critical optimization steps you must follow:
- Check wall thickness. Every surface on your model needs a minimum thickness—typically 1.2mm for FDM printers (about 3 nozzle widths) and 1mm for resin printers. Thin walls will break or fail to print.
- Fix non-manifold geometry. Run an automated repair tool. In Blender, use the 3D Print Toolbox add-on. In Meshmixer, use Analysis → Inspector. These tools highlight holes, intersecting faces, and flipped normals.
- Orient for strength and quality. The orientation of your 3D printing model on the build plate affects both surface finish and structural integrity. Load-bearing parts should be oriented so layer lines don't run perpendicular to the force direction.
- Add support structures strategically. Overhangs beyond 45 degrees need supports. Most slicers auto-generate supports, but manual placement can reduce material waste and post-processing time.
- Hollow large models. For resin printing especially, hollowing a model with 2-3mm wall thickness saves significant material and reduces print failures. Don't forget drainage holes!
"The difference between a failed print and a flawless one is almost always in the model preparation, not the printer itself. Spend 10 minutes optimizing your file and you'll save hours of frustration."
— Prusa Research Printing Handbook
Choosing the Right File Format for 3D Printing Models
Not all file formats are created equal. Here's what you need to know:
| Format | Stores Color? | Stores Units? | Best Use Case | File Size |
|---|---|---|---|---|
| STL | No | No | Standard for most FDM prints | Large for complex models |
| OBJ | Yes (via MTL) | No | Multi-color or textured prints | Moderate |
| 3MF | Yes | Yes | Modern standard, full metadata | Small, efficient |
| STEP | No | Yes | CAD models for engineering | Small, precise |
| AMF | Yes | Yes | Advanced multi-material prints | Moderate |
For most hobbyists, STL remains the default. But if you're working with multi-color or multi-material 3D printing models, 3MF is the modern choice—it stores units, colors, and even slicer settings in a single compressed file. If you're exporting from Fusion 360 or SolidWorks for engineering applications, STEP files preserve parametric data that STL loses.
Common 3D Printing Model Problems and How to Fix Them
Even experienced makers encounter issues. Here are the most common problems with 3D printing models and their solutions:
Problem 1: Model Has Holes or Gaps
Symptom: Slicer software shows red highlighted areas or warns about non-manifold edges. Print may have missing layers or gaps.
Fix: Use Blender's 3D Print Toolbox or Meshmixer's Inspector to identify and close holes. For small gaps, the "Make Solid" function in Meshmixer works well. For larger issues, manually bridge the gap with new faces.
Problem 2: Model Is Too Thin in Areas
Symptom: Certain walls or details don't print at all, or break immediately after printing.
Fix: Increase wall thickness in your CAD software. For FDM, minimum 1.2mm. For resin, minimum 1mm. If you can't modify the model, scale it up or use a smaller nozzle diameter.
Problem 3: Model Floats Above the Build Plate
Symptom: The model appears to hover in the slicer preview, and the first layer doesn't adhere.
Fix: Use the "Lay Flat" or "Drop to Build Plate" function in your slicer. If the model has an uneven bottom, rotate it or add a raft.
Problem 4: Overhangs Fail or Sag
Symptom: Areas with angles greater than 45 degrees print poorly, with drooping or rough surfaces.
Fix: Add supports in your slicer. For better surface quality on overhangs, reduce layer height to 0.12mm or lower. Consider reorienting the model to minimize overhangs.
Never ignore non-manifold warnings from your slicer. Even if the preview looks fine, the printer will likely fail mid-print. Always repair 3D printing models before slicing.
3D Printing Models for Game Development and Digital Assets
Here at RealSoft Games, we think a lot about the intersection of physical and digital 3D assets. The same 3D printing model you create for a physical prop can be imported into Unity for a game asset, and vice versa. Our team has built several tools that bridge this gap. For example, Icon Architect Studio takes any 3D model—whether designed for printing or for games—and converts it into a beautiful 2D icon for Unity's Asset Store. This is incredibly useful for developers who want to showcase their 3D printing models in a polished, professional way.
Beyond icons, our Advanced Leveling System demonstrates how robust, flexible systems can manage complex data—like tracking which 3D printing models a player has unlocked in a game. And our Spawner Advanced & Pooling package shows how efficient object management can dramatically improve performance, a principle that applies equally to managing large libraries of 3D printing models in a slicer or asset manager.
If you're building a game that features 3D printing mechanics or crafting systems, you'll need a solid foundation for managing your digital assets. Check out our Documentation for detailed guides on integrating these systems into your Unity projects.
Advanced Tips for Professional 3D Printing Models
Once you've mastered the basics, these advanced techniques will take your 3D printing models to the next level:
- Design for printability from the start. Instead of fixing problems after modeling, design with printing constraints in mind. Avoid sharp internal corners, use fillets on edges, and maintain consistent wall thickness throughout.
- Use parametric modeling. Tools like Fusion 360 or OpenSCAD let you define dimensions as variables. Change one number and the entire model updates—perfect for iterative prototyping.
- Optimize polygon count. A 3D printing model with 1 million polygons prints no better than one with 100,000 polygons, but it slices slower and creates larger files. Use decimation tools to reduce polygon count while preserving surface quality.
- Test with small prints first. Before committing to a 10-hour print, print a scaled-down version or just the critical section. This catches geometry errors early and saves material.
- Document your settings. Keep a log of successful print settings for different materials and model types. This becomes your personal knowledge base for future projects.
For developers working with Unity, our Icon Architect Studio Tutorial provides a step-by-step walkthrough of converting 3D models to icons, which is a perfect example of how to think about model optimization across different use cases.
"A great 3D printing model is like a great piece of code—clean, efficient, and purpose-built. The best designs are the ones that print perfectly on the first try."
— RealSoft Games Design Philosophy
Frequently Asked Questions About 3D Printing Models
Frequently Asked Questions
Q: How do I create my own 3D printing models?
A: Start with free, beginner-friendly software like Tinkercad (browser-based, drag-and-drop) or Blender (more powerful, steeper learning curve). For engineering parts, Fusion 360 offers a free personal license. Begin with simple geometric shapes, then progress to more complex designs. Export as STL or 3MF when ready to print.
Q: What's the best file format for 3D printing models?
A: STL remains the most widely supported format and works for most single-color prints. However, 3MF is the modern standard—it stores units, colors, and metadata in a smaller file size. Use OBJ if you need color or texture data, and STEP for engineering-grade CAD models.
Q: Why do my 3D printing models keep failing?
A: The most common causes are non-manifold geometry (holes, intersecting faces), walls that are too thin (below 1.2mm for FDM), or poor orientation on the build plate. Run an automated repair tool on your model, check wall thickness, and experiment with different orientations before blaming the printer.
Q: Can I sell 3D printing models I download for free?
A: It depends on the license. Many free models use Creative Commons licenses that prohibit commercial use. Always check the license terms on the download page. If you want to sell prints, look for models with commercial licenses or design your own from scratch.
Q: How do I reduce the file size of my 3D printing model?
A: Use decimation tools in Blender or Meshmixer to reduce polygon count while preserving surface detail. Target 100,000-500,000 polygons for most prints. Also, export as 3MF instead of STL—3MF uses compression that can reduce file size by 50-80%.
Q: What's the difference between FDM and resin 3D printing models?
A: FDM (filament) printers build models layer by layer with melted plastic, ideal for larger, functional parts. Resin printers cure liquid resin with UV light, producing much finer detail—perfect for miniatures and jewelry. The same 3D printing model can work for both, but resin models often need hollowing and drainage holes.
Mastering 3D printing models is a journey that combines technical skill, creative vision, and practical problem-solving. Whether you're downloading your first model from Thingiverse or designing complex parametric parts in Fusion 360, the principles remain the same: start with clean geometry, optimize for your printer, and learn from every print. At RealSoft Games, we believe in the power of well-crafted digital assets—whether they become physical objects, game icons, or interactive experiences. Explore our Products to see how our tools can help you get more from your 3D creations. Happy printing!
More from RealSoft Games
2D Assets in Unity: A Developer's Guide to Modular Systems
Master 2D assets in Unity: modular systems, object pooling, and procedural generation for 60+ FPS. Learn expert workflows from RealSoft Games now.
iOS Development Tutorial: Unity Drag-and-Drop Game Systems
iOS development tutorial for Unity: build production-ready games with drag-and-drop systems for achievements, leveling, and spawning. Cut dev time by 60%.
Visual Studio IDE Mastery for Unity Game Development
Master the Visual Studio IDE for Unity game dev. Setup, extensions, and performance tips for drag-and-drop asset integration. Optimize your workflow now.
Browser Games WebGL: The Complete Guide
Discover browser games WebGL: play stunning 3D games instantly in your browser. Learn how they work, optimize performance, and explore top titles today!
📋 Embed this feed on your website:
<script src="https://maylalabs.com/api/embed?api_key=mayla_site_59a092476d90a263df17bad3f8581e007aecae6d382cfa0e&limit=5" defer></script>